Interior Design 3D Rendering Guide: Everything You Need to Know
Interior Design 3D Rendering Guide: Everything You Need to Know
Did you know that 68% of interior designers say 3D rendering has revolutionized their design process? That’s right!
What is 3D Rendering in Interior Design?
3D rendering in interior design is like having a magic lens that lets you see your design ideas come to life before you’ve even touched a single piece of furniture. If you’re new to this, imagine walking through a space that exists only in your imagination—except now it’s fully visualized on your computer screen, down to the light hitting the floor just right. That’s the power of 3D rendering.
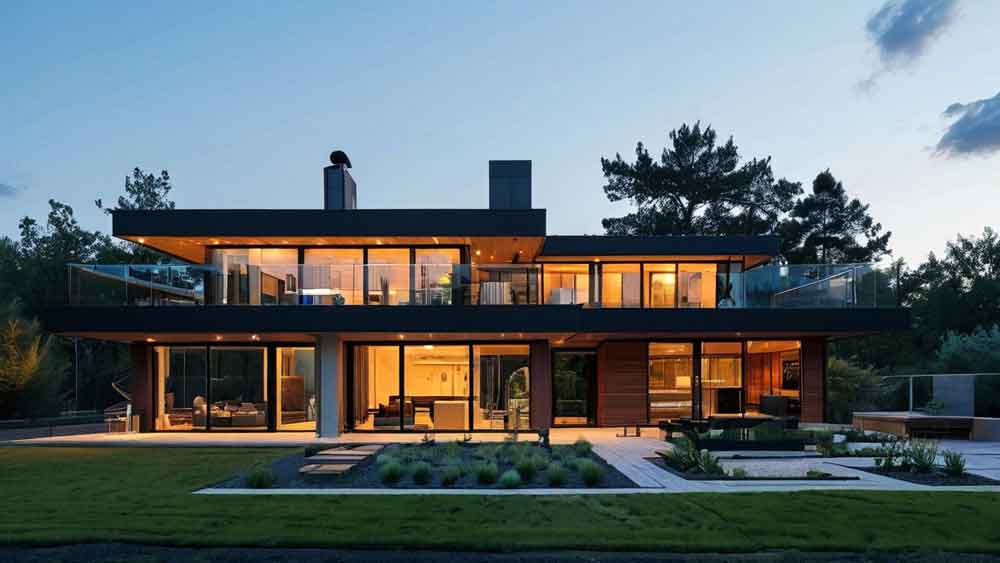
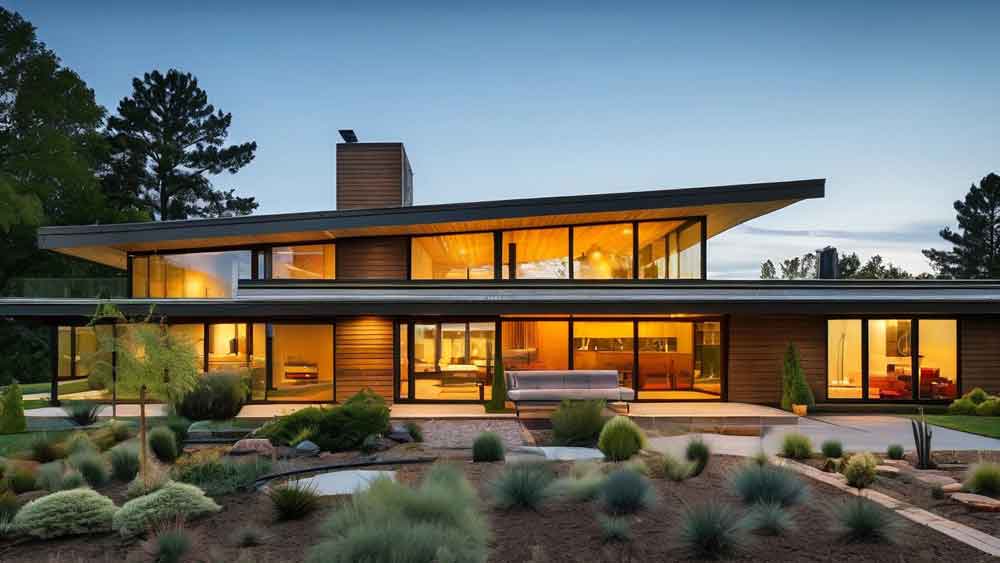
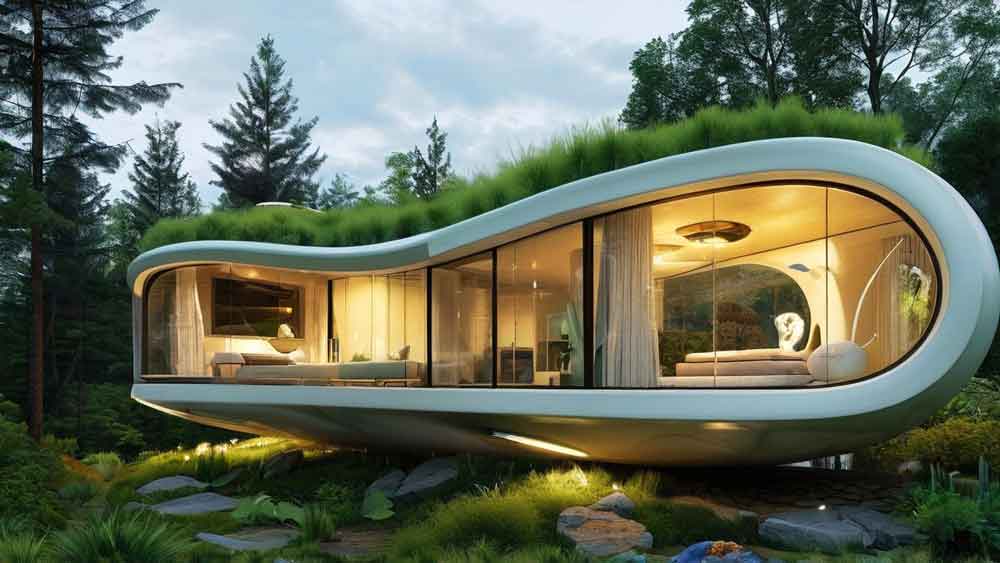
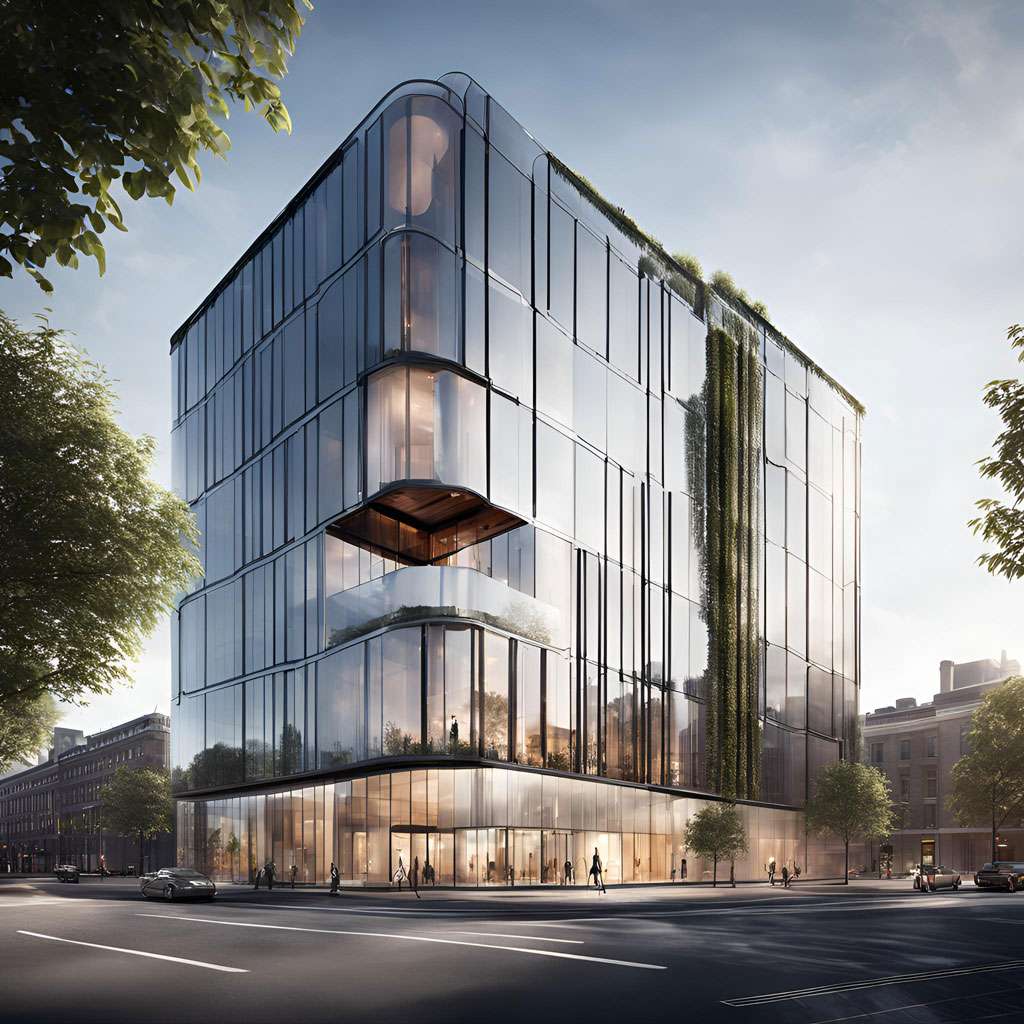
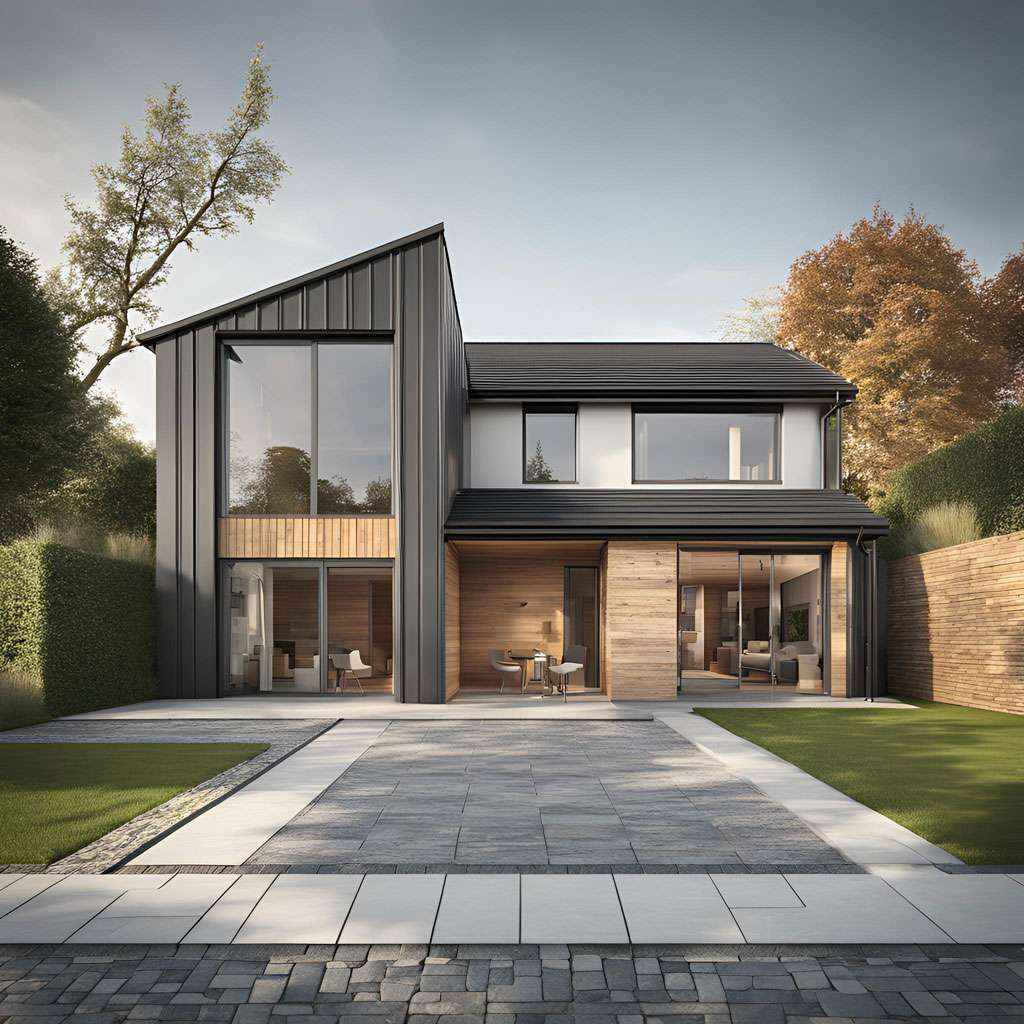
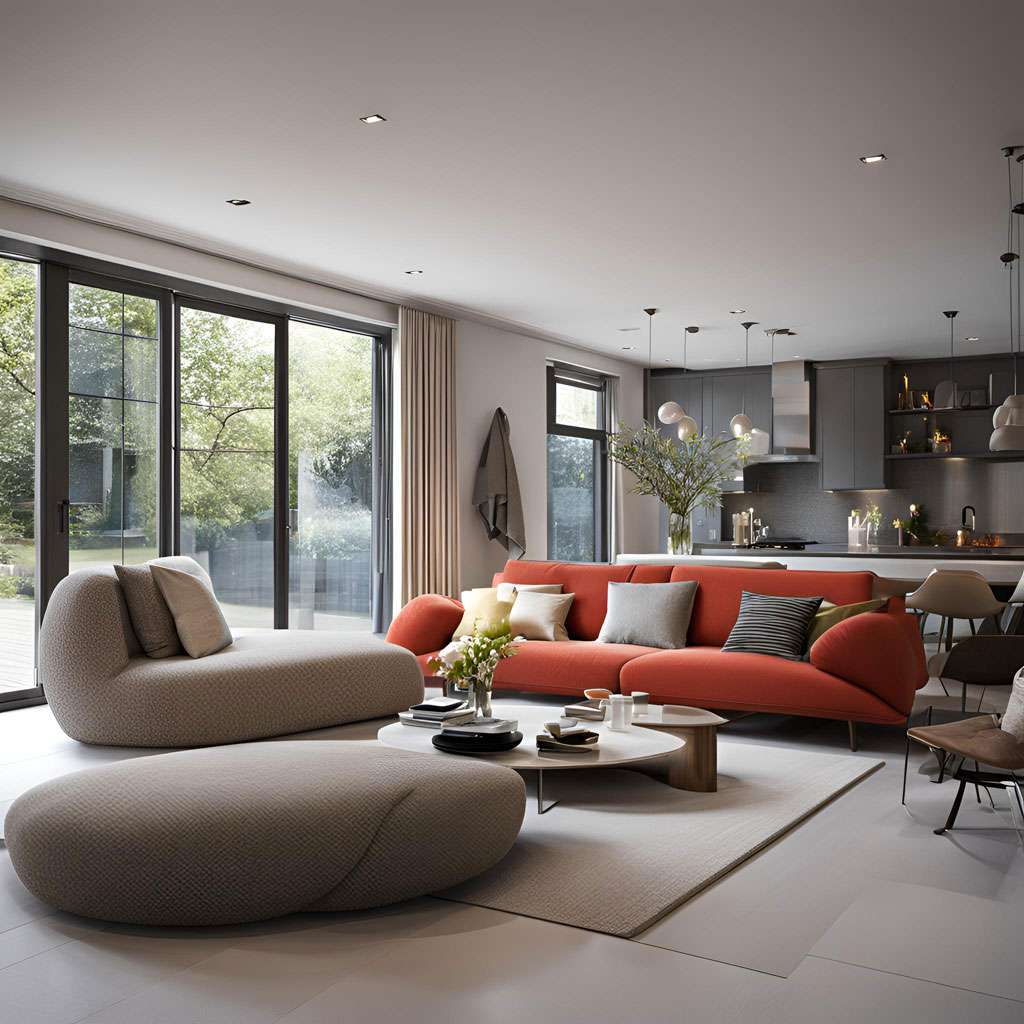
At its core, 3D rendering is a process where you take a 3D model of a space—say, a living room—and convert it into a 2D image that looks so real it could be a photograph. You can apply textures, add lighting, and even incorporate furniture designs to visualize how the space will feel in the real world. It’s kind of like using Lego bricks to build your dream room—except way more precise and way more visually stunning.
The great thing about 3D rendering is that it isn’t just for visual effect. It’s a crucial tool for interior designers because it helps communicate ideas to clients without the “what ifs.” Clients no longer have to imagine your designs based on swatches and mood boards. They get to see, almost firsthand, how their future home or office will look. Trust me, that moment when a client sees their ideas fully rendered in 3D? It’s like magic, and they’ll often fall in love with the design right there.
The technical process behind it can get complex, but don’t let that scare you off. You start with a basic 3D model, then you add textures—such as wood grain for a floor, fabric for a sofa—and set up lighting to give the space depth and realism. Finally, you “render” it into an image, which is the process of creating the final, high-quality visual output. It’s like baking a cake; you mix the ingredients, pop it in the oven, and after some time, out comes this beautiful, polished result.
Benefits of Using 3D Rendering for Interior Design
Oh man, where do I even start with the benefits of 3D rendering in interior design? When I first started using it, I felt like I had unlocked a superpower. Here’s why:
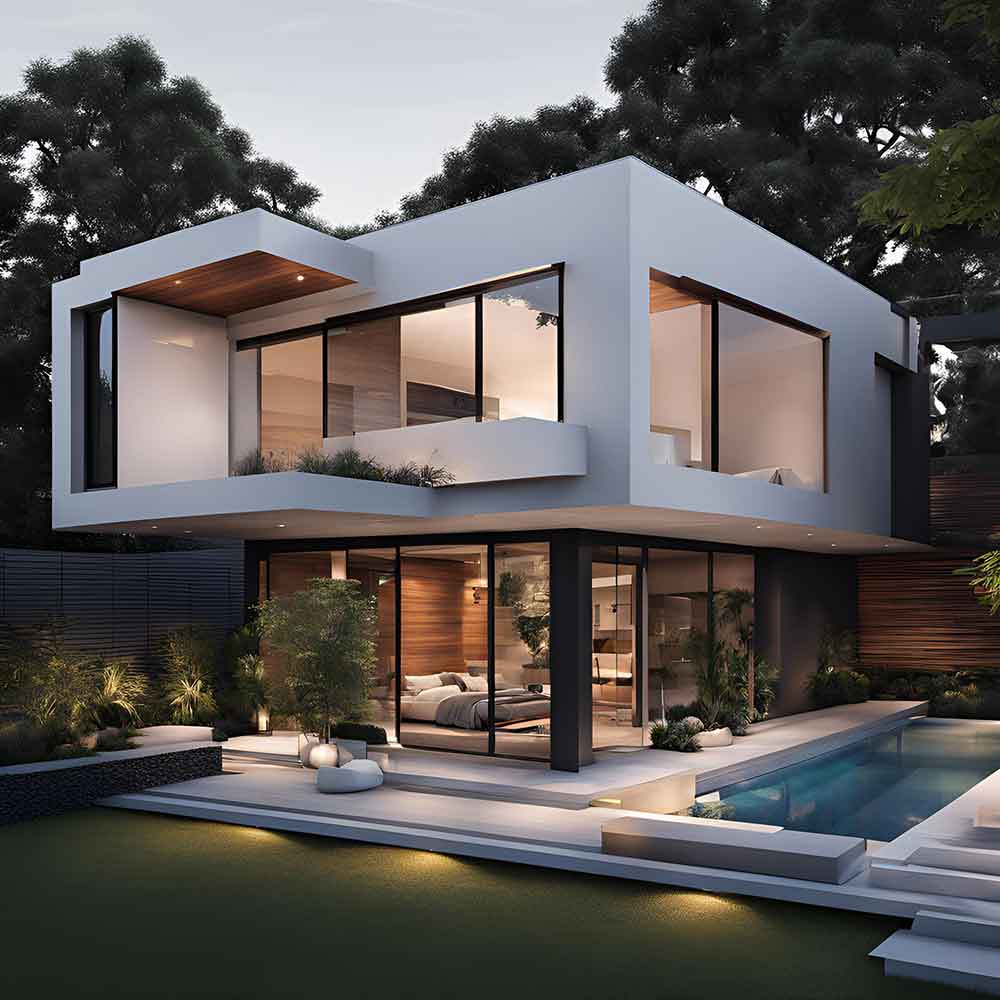
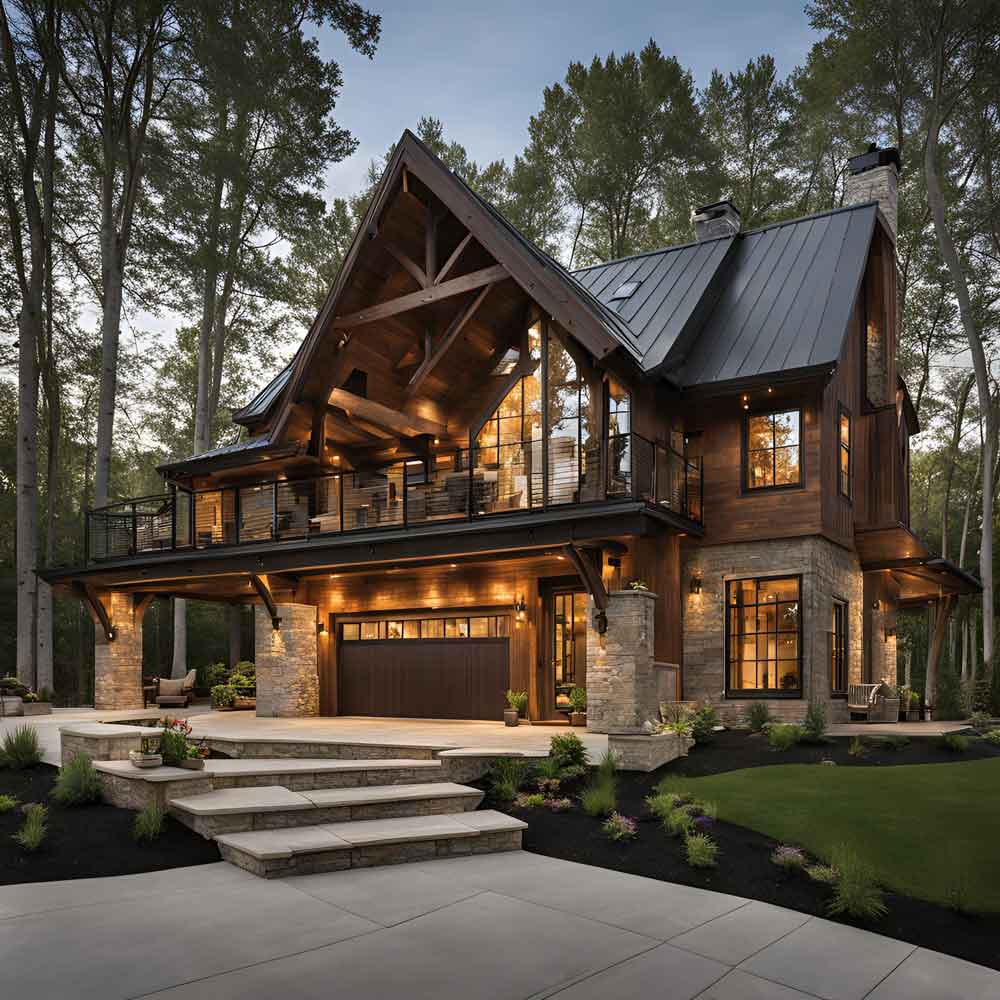
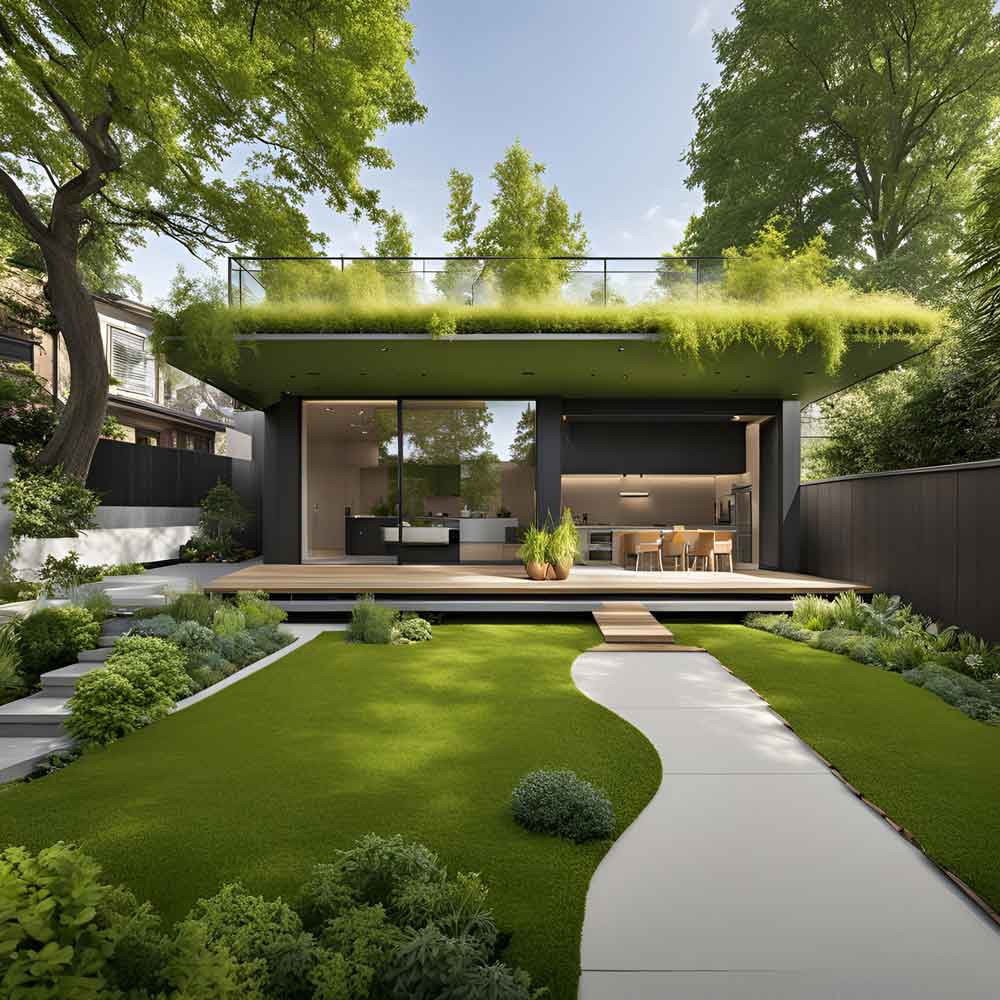
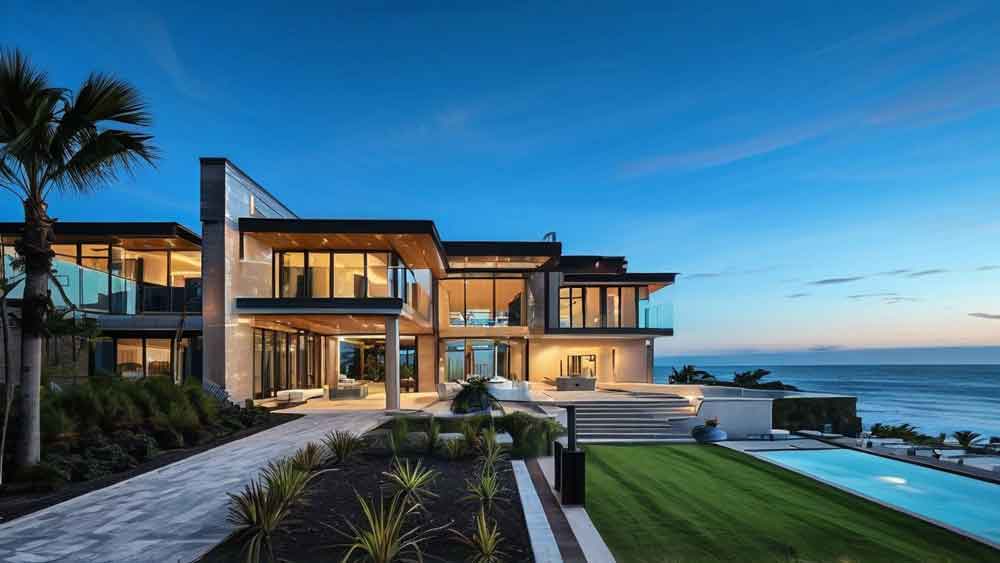
First, enhanced visuals. Before 3D rendering, you’d sketch out a room design or create 2D floor plans. These work, but they don’t truly capture the feel of a space. With 3D rendering, you can present fully furnished, lifelike images of a room. And when it’s done right, it’s like looking at a photograph of a room that doesn’t even exist yet.
Then there’s improved client communication. No more trying to explain abstract ideas to a client who might not have the same visual imagination as you do. Clients can now see exactly what you mean. You won’t believe how many times I’ve shown clients 3D renders, and they go, “Oh! Now I get it!” It helps bridge that creative gap.
Another major perk is the cost and time efficiency. 3D rendering helps cut down revisions drastically. Clients can see everything up front, which means fewer back-and-forth changes. I used to spend weeks tweaking designs, but once I started incorporating 3D renders, decisions happened faster, and I could wrap up projects much sooner.
And let’s not forget photorealism. The ability to create renders that look like real photos? That’s a game-changer. Whether it’s replicating the natural lighting or getting the wood texture just right, 3D rendering offers a level of detail that brings your designs to life in ways that simple sketches can’t.
Choosing the Right 3D Rendering Software for Interior Designers
Choosing the right software can feel overwhelming. There are so many options, each with different features, price points, and learning curves. So, how do you pick the right one?
First off, you’ve got to consider cost. If you’re just starting out or working on smaller projects, a free or low-cost option like Blender might be all you need. Blender is powerful, but its interface can be a bit daunting at first. On the other hand, if you want premium features and a smoother user experience, SketchUp or V-Ray could be better fits. These aren’t cheap, but they offer a wide range of tools specifically tailored to interior designers.
Ease of use is another big factor. I’ll be honest, when I first started with rendering software, I felt like I was learning a whole new language. That’s why I always recommend beginners try tools like SketchUp or Lumion, which have user-friendly interfaces and plenty of online tutorials. Once you’re comfortable with the basics, you can graduate to more advanced software like 3ds Max or V-Ray.
But what really matters is the quality of rendering. If you’re aiming for photorealistic results, you’ll want to invest in high-quality software. V-Ray is top-tier when it comes to creating realistic lighting and textures, and it’s used by professionals around the world for a reason.
If you’re not sure which software to start with, I recommend starting small and building your way up. When I was just starting, I began with SketchUp and gradually transitioned to V-Ray as I got more experienced. There’s no shame in starting with simpler software while mastering the basics.
Step-by-Step Guide to Creating a 3D Interior Design Render
Now that you’re familiar with the concept and benefits of 3D rendering, let’s dive into the step-by-step process of creating your own stunning 3D interior design renders. Trust me, once you get the hang of it, it’s an incredibly rewarding experience!
Step 1: Conceptualize the Design
Before you even open your software, take some time to think through your design. Grab a sketchbook, or even just a piece of paper, and jot down your ideas. What’s the vibe you want to create? Are you aiming for a cozy, modern living room or a sleek, minimalistic kitchen? Getting your ideas on paper will help you stay focused when you start modeling. I once spent hours trying to figure out a design only to realize I didn’t have a clear vision. Don’t be like me—plan it out first!
Step 2: Build the 3D Model
Once you’ve got a solid concept, it’s time to bring that vision into 3D. Start with the floor plan. Most software like SketchUp allows you to draw the walls and windows with ease. From there, you can begin adding furniture and fixtures. It might feel like putting together a digital puzzle, but stick with it! Remember, it doesn’t have to be perfect at first; you can always make adjustments later.
Step 3: Apply Textures and Materials
Now comes the fun part—adding textures! This is where your render will start to feel real. Choose materials that match your design concept. If you’re going for a rustic look, wood textures work wonders. If you want a sleek modern feel, shiny metal or glass textures can really pop. The right texture can elevate your design. I learned the hard way that using low-quality textures can make a render look flat and uninviting, so always opt for high-resolution images.
Step 4: Set Up Lighting
Lighting can make or break your render. It’s like the icing on the cake! You want to create a balance between natural and artificial light to achieve that warm, inviting atmosphere. Place light sources where they would realistically be in your design, such as ceiling lights, table lamps, or even sunlight streaming through the windows. I once had a render that looked lifeless because I didn’t pay enough attention to lighting, so don’t overlook this step!
Step 5: Final Rendering and Post-Processing
Once you’ve got everything in place, it’s time to hit that render button! Depending on your software and the complexity of your model, rendering might take anywhere from a few minutes to several hours. Patience is key! After the render is complete, you might want to use photo-editing software like Photoshop for any final touch-ups—like enhancing colors or correcting lighting issues. Just be careful not to overdo it; you want your render to stay true to your original design vision.
Tips for Creating Photorealistic Interior Renders
When it comes to 3D rendering, achieving photorealism can feel like a daunting task, but with a few tips, you’ll be well on your way. Here are some of the best tricks I’ve learned along the way:
- Use High-Quality Textures: This cannot be stressed enough! Always opt for high-resolution textures. When I started, I made the mistake of using lower-quality images to save time, and it showed in the final render. Clients notice the difference.
- Lighting is Key: Play around with both natural and artificial lighting. Natural light can add warmth, while artificial lights can create a cozy atmosphere. Remember, it’s all about balance! I find that experimenting with different lighting setups can lead to some surprising and beautiful results.
- Avoid Over-Cluttering the Scene: Less is often more. While it might be tempting to fill the room with tons of decor, try to keep it clean and organized. A cluttered scene can detract from your design. I learned this the hard way when I had to redo an entire render because it just looked too busy.
- Perspective Matters: The angle at which you present your render can change everything. Use camera settings to find the best angle that showcases your design. Often, standing at eye level works best. You want viewers to feel like they could step right into the space.
- Post-Processing Magic: Don’t underestimate the power of post-processing! Using software like Photoshop or Lightroom to adjust brightness, contrast, and saturation can really make your render pop. Just be cautious not to over-edit; you want to keep it looking natural.
By incorporating these tips into your workflow, you’ll be well on your way to creating jaw-dropping, photorealistic interior renders that your clients will love!
Common Mistakes to Avoid in Interior Design Rendering
As with any craft, it’s easy to trip up when you’re just starting out in 3D rendering. Here are some common mistakes I’ve made (and seen others make) that you should definitely avoid:
- Ignoring Lighting Effects: Seriously, don’t skip out on lighting! Poor lighting can make even the best designs look flat and lifeless. Always take the time to set up your light sources carefully. I once had a render that looked so dull simply because I didn’t pay attention to how shadows were cast. It was a rookie mistake!
- Overuse of Post-Processing: While post-processing can enhance your render, too much editing can lead to an unrealistic outcome. Stick to adjustments that enhance rather than alter your original vision. I’ve seen some renders go from stunning to over-the-top with a few too many filters.
- Low-Quality Textures and Materials: Using low-resolution textures can make your render look amateurish. Always invest time in finding quality textures. I learned this lesson when I used a low-res wood texture that completely ruined the look of an otherwise beautiful kitchen render.
- Ignoring Client Feedback: This one’s crucial! Make sure to involve your clients in the process and listen to their feedback. It’s easy to get caught up in your vision, but the ultimate goal is to meet their needs. I had a project that went sideways because I didn’t incorporate my client’s suggestions early on.
Avoiding these common pitfalls can significantly enhance the quality of your 3D renders and boost client satisfaction.
The Future of 3D Rendering in Interior Design
As technology advances, the future of 3D rendering in interior design is looking incredibly exciting! Here are some trends to watch for:
- AI in 3D Rendering: Artificial intelligence is starting to play a big role in rendering software. Imagine software that learns your preferences and offers suggestions based on your style! This could save tons of time and make the rendering process more intuitive. I can’t wait to see how this unfolds!
- Virtual Reality Integration: VR is making waves in the design world. Soon, clients may be able to take virtual walkthroughs of their future spaces, allowing them to experience the design in real time. This will likely change how we present our ideas, giving clients a more immersive experience.
- Real-Time Rendering: Real-time rendering is becoming more common, allowing designers to see changes instantly as they adjust their models. This feature can significantly enhance workflow and creativity, making it easier to tweak designs on the fly. I’m all for anything that speeds up the process without sacrificing quality!
- Sustainability Considerations: With growing awareness around sustainability, future rendering tools will likely integrate features that help designers choose eco-friendly materials and layouts. This trend is something I fully support as it aligns with the growing need for sustainable design practices.
The future is bright for 3D rendering in interior design, and I’m excited to see how these advancements will shape our industry!
Conclusion
In conclusion, the world of 3D rendering is not just a trend—it’s a fundamental tool that has revolutionized how we approach interior design. From enhancing visuals to improving communication with clients, mastering 3D rendering can elevate your design game to new heights.
As you explore the tips, techniques, and tools outlined in this guide, remember to customize your approach based on your unique style and project needs. Don’t hesitate to experiment with different software and settings; after all, practice makes perfect!
And as you continue your journey, feel free to share your experiences or any tips you’ve picked up along the way in the comments below. Let’s build a community of designers who support and learn from each other. Happy rendering!


