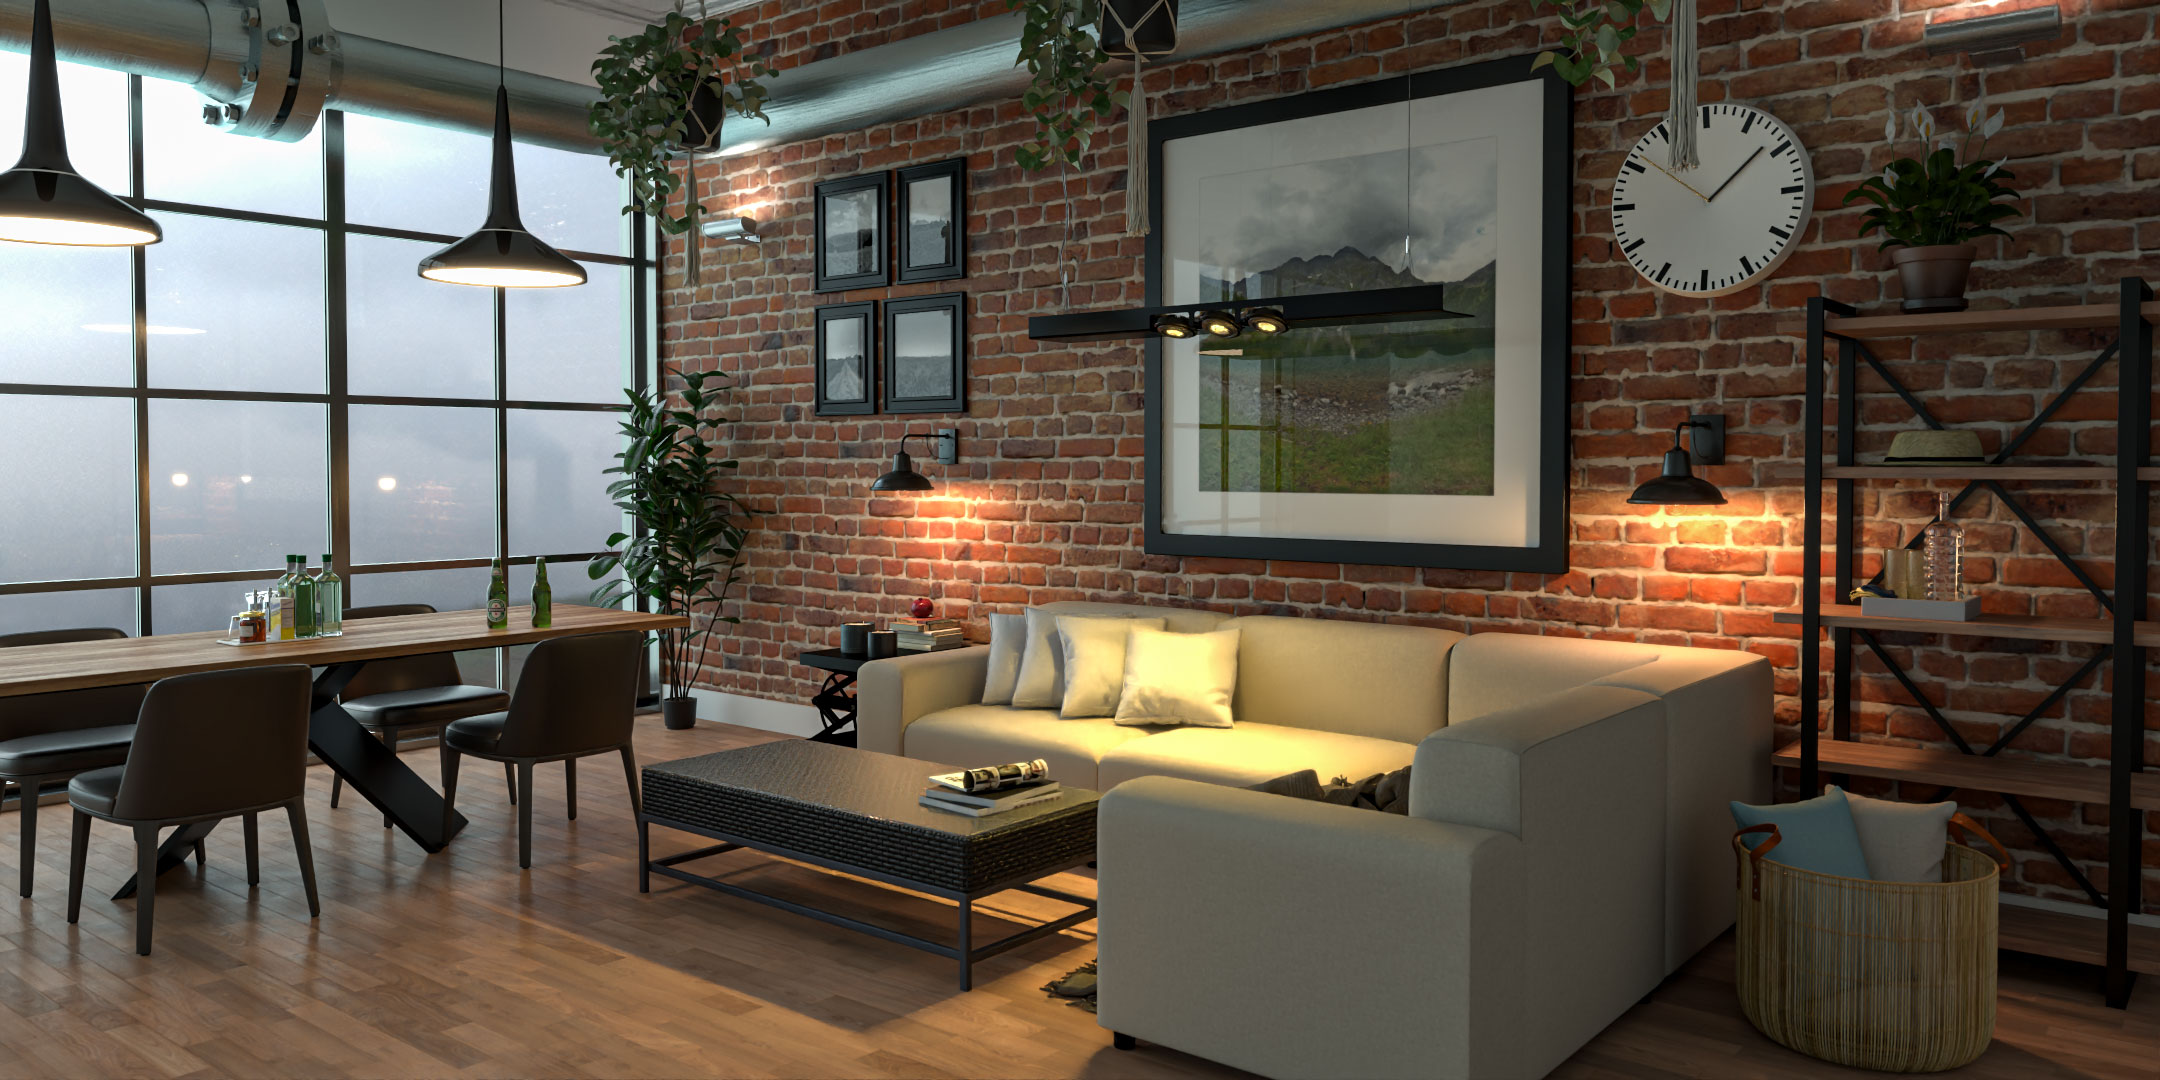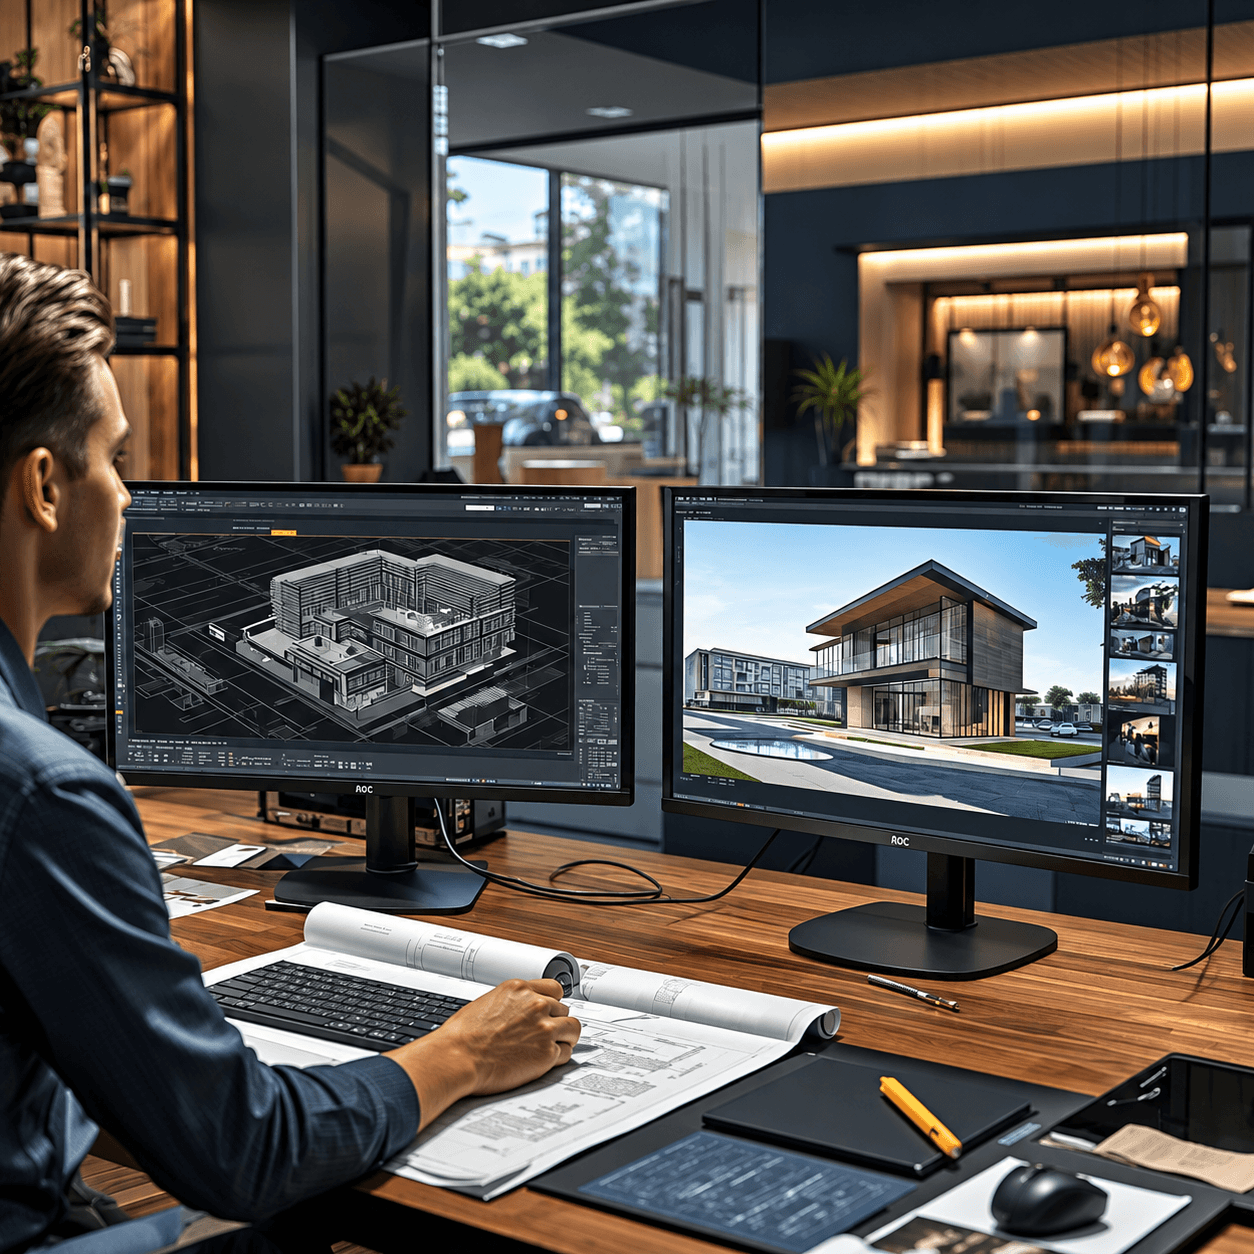
The architectural rendering workflow transforms technical design information into polished CGI that communicates how a building or space could look before it is constructed.
For a typical architectural visualisation project, the process begins with CAD drawings, architectural plans, elevations, sections, BIM information or an existing 3D model. From there, the project moves through 3D modelling, camera setup, materials, lighting, landscaping, rendering, post-production and client revisions before the final imagery is delivered.
Although rendering software has become faster and more sophisticated, producing convincing architectural CGI is not simply a matter of importing a CAD file and pressing a render button.
Every stage affects the final result.
Understanding the workflow can help architects, developers and designers provide better information, plan realistic timescales and get more value from professional architectural visualisation.
What Is an Architectural Rendering Workflow?
An architectural rendering workflow is the sequence of steps used to transform architectural design information into finished visual imagery.
Depending on the project, the final output might include:
exterior CGI
interior CGI
aerial views
3D floor plans
architectural animation
360-degree panoramas
virtual reality experiences
marketing imagery
The exact process varies according to the size and complexity of the project, but a professional workflow generally follows the same underlying structure.
First, the visualisation studio needs to understand the project.
Then the architecture must be recreated or prepared accurately in 3D.
Only after that can the visual side of the project develop through materials, lighting, composition and environmental detail.
Stage 1: Understanding the Brief
Before any modelling begins, the visualiser needs to understand what the images are supposed to achieve.
This is one of the most important stages of the entire project.
A render created for a planning presentation may require a different approach from one created for luxury property marketing.
Similarly, imagery intended for architects may emphasise design accuracy, while an off-plan marketing campaign may place greater emphasis on atmosphere and lifestyle.
A useful brief should establish:
project type
target audience
intended use
required viewpoints
number of images
desired resolution
architectural stage
required deadline
material information
landscaping requirements
interior styling
surrounding context
reference imagery
The better the brief, the less uncertainty exists later in production.
Stage 2: Gathering the Architectural Information
The next stage is collecting the information required to understand and reconstruct the project.
This may include:
CAD drawings
PDF drawings
floor plans
elevations
sections
site plans
BIM models
SketchUp models
Revit models
material schedules
photographs
mood boards
landscape plans
furniture specifications
planning documents
Not every project arrives with a complete package.
Some clients may provide a detailed architectural model. Others may have only 2D drawings.
The amount and quality of information supplied directly influences the amount of work required.
This is one reason the cost and production time of architectural visualisation can vary substantially between apparently similar projects.
Stage 3: Reviewing the CAD Drawings
CAD drawings provide precise technical information, but they are not automatically ready for visualisation.
Before modelling begins, the visualiser needs to understand how the drawings relate to one another.
Floor plans establish horizontal layouts.
Elevations communicate façades and vertical relationships.
Sections reveal heights, floor levels, roof structures and internal relationships that may not be obvious from plans alone.
A visualiser may need to cross-reference several drawings continuously while constructing the 3D model.
Conflicting or missing information should ideally be identified early.
Resolving uncertainty before detailed visual work begins is considerably more efficient than rebuilding parts of the project later.
Stage 4: Preparing CAD Data
Architectural CAD files often contain considerably more information than a visualisation project needs.
Drawings may include:
dimensions
annotations
construction notes
hatching
hidden layers
structural information
duplicated geometry
consultant information
Before using the files for modelling, unnecessary information may need to be removed or isolated.
The visualiser is interested primarily in geometry and dimensional information relevant to the final imagery.
Clean source files make the transition from CAD to 3D considerably easier.
Stage 5: Building the 3D Model
Once the architectural information has been understood, the project can be constructed in three dimensions.
This is the modelling stage.
The visualiser recreates the building using the supplied plans, elevations, sections and reference information.
Depending on the project, this may involve modelling:
walls
floors
ceilings
roofs
windows
doors
stairs
structural elements
façades
balconies
kitchens
bathrooms
fitted furniture
external structures
This stage establishes the physical foundation for everything that follows.
Our guide explaining the difference between 3D modelling and 3D rendering explores why these are separate but closely connected parts of the visualisation process.
Stage 6: Checking Architectural Accuracy
Before spending significant time on materials and lighting, the model should be checked against the source information.
Important elements include:
overall dimensions
floor heights
window positions
door positions
roof geometry
façade details
internal layouts
site relationships
Errors discovered at this stage are relatively straightforward to correct.
Errors discovered after dozens of materials, objects and camera views have been created can be considerably more disruptive.
Accuracy becomes particularly important when CGI is being used later in the design process, where detailed RIBA Stage 4 architectural rendering may need to reflect increasingly developed technical information.
Stage 7: Building the Site and Surrounding Context
The architecture itself is only part of an exterior visualisation.
A convincing scene also needs context.
Depending on the project, this might include:
terrain
neighbouring buildings
roads
pavements
driveways
boundary treatments
retaining walls
parking
landscaping
street furniture
surrounding vegetation
For smaller residential projects, the context might consist primarily of the garden, neighbouring houses and street.
For larger developments, the surrounding environment may become a substantial modelling project in its own right.
This is especially important for masterplans, housing developments and commercial projects where viewers need to understand how the architecture relates to its surroundings.
Stage 8: Choosing the Camera Angles
Once enough of the model exists, camera views can be explored.
This should happen before the project becomes excessively detailed.
There is little value in modelling an area to an extremely high level if it will never appear in the final imagery.
Camera selection determines what needs the greatest attention.
A good architectural viewpoint considers:
composition
building form
important architectural features
foreground
background
camera height
focal length
direction of light
visual hierarchy
For interiors, camera placement also needs to communicate spatial relationships without excessively distorting the room.
For exterior projects, the camera might focus on the main entrance, a key façade, landscaping or the relationship between multiple buildings.
Stage 9: Creating Initial Clay Renders
Before materials are finalised, simple test renders can be extremely useful.
These are sometimes called clay renders because the scene is displayed using a neutral material.
Without colours and textures competing for attention, the client and visualiser can concentrate on:
geometry
camera position
composition
proportions
lighting direction
Making major camera changes at this stage is far easier than doing so after the scene has been fully developed.
Early approval can therefore prevent unnecessary work later.
Stage 10: Creating Materials
Once the model and viewpoints are established, materials can be developed.
Architectural materials may include:
brick
stone
timber
concrete
metal
glass
plaster
tiles
flooring
fabrics
painted finishes
A realistic material contains more than colour.
Its appearance depends on how it reacts to light.
Properties such as roughness, reflection, transparency, texture scale and surface relief all contribute to the final result.
For photorealistic work, small variations can make a major difference.
Our guide to photorealistic interior visualisation demonstrates why material behaviour becomes particularly important when communicating high-end finishes.
Stage 11: Adding Furniture and Interior Details
Interior scenes require another layer of development.
Furniture, lighting fixtures, accessories and decorative elements establish the function and character of the space.
Depending on the brief, this might include:
sofas
chairs
tables
beds
cabinetry
lighting
artwork
curtains
rugs
plants
kitchen equipment
decorative objects
These elements should support the design rather than simply fill empty areas.
Furniture also provides important scale references.
Without recognisable objects, viewers can find it more difficult to judge the dimensions of a room.
This is one reason 3D rendering in interior design can be so effective for communicating spaces before they physically exist.
Stage 12: Landscaping the Scene
For exterior visualisation, landscaping can completely change how a development is perceived.
The landscape might include:
trees
shrubs
grass
planting beds
hedges
pathways
seating
walls
fencing
water features
Planting should ideally reflect the actual landscape design where information is available.
When detailed specifications have not yet been established, appropriate representative vegetation may be used depending on the purpose and stage of the project.
Variation is essential.
Repeating identical trees or plants can immediately make an otherwise realistic scene look computer-generated.
Stage 13: Lighting the Architecture
Lighting is where the three-dimensional scene begins to develop atmosphere.
For exterior CGI, the visualiser considers:
sun direction
sun height
sky conditions
season
time of day
cloud cover
surrounding reflections
For interiors, lighting may combine daylight with artificial sources.
These can include:
ceiling lights
pendant lights
lamps
wall lights
concealed LEDs
decorative lighting
Lighting needs to support the architecture.
Strong shadows may help reveal façade depth, while softer lighting may suit an interior where materials and atmosphere are more important.
Stage 14: Developing the Environment
At this stage, the scene begins to move beyond the architectural model and toward a believable environment.
Additional elements may include:
people
vehicles
street furniture
signage
background buildings
clouds
distant vegetation
accessories
These details provide scale and activity.
However, they should not distract from the architecture.
A common mistake is adding too many elements simply because the scene appears empty.
Good architectural CGI uses environmental detail strategically.
Stage 15: Producing Preview Renders
Before the final high-resolution render, lower-resolution previews are normally produced.
These allow the project to be reviewed without spending unnecessary rendering time.
A preview can reveal issues involving:
materials
lighting
composition
missing objects
landscaping
furniture
reflections
architectural details
This is also an appropriate stage for client feedback.
Clear, consolidated feedback helps keep revisions controlled and prevents contradictory changes.
Stage 16: Client Revisions
Architectural visualisation is usually collaborative.
The client may request adjustments after reviewing the preview imagery.
Typical revisions include:
changing materials
adjusting colours
modifying landscaping
replacing furniture
correcting architectural details
changing lighting
adding or removing objects
Some revisions are visual preferences.
Others result from changes to the architecture itself.
The distinction matters because substantial design changes can affect multiple areas of the 3D scene.
A structured revision process helps maintain accuracy while keeping the project moving efficiently.
Stage 17: Final Rendering
Once the scene is approved, the final images can be rendered at the required resolution and quality.
Rendering calculates the interaction between:
geometry
materials
light
reflections
shadows
transparency
atmosphere
Complex scenes can require significant computational resources.
This explains why 3D rendering can take hours even on powerful modern computers.
Resolution, scene complexity, lighting calculations and quality settings can all influence rendering time.
Stage 18: Post-Production
The raw render is not necessarily the finished image.
Post-production allows the visualiser to refine the CGI and bring the individual elements together.
Adjustments may include:
exposure
colour balance
contrast
highlights
shadows
atmospheric depth
sky
vegetation
people
reflections
subtle effects
The objective is not to disguise a weak render.
The strongest post-production begins with a technically sound image and improves its visual coherence.
Excessive editing can actually reduce realism.
Subtlety is often more effective.
Stage 19: Quality Control
Before delivery, the final CGI should be checked carefully.
This includes looking for:
incorrect materials
missing textures
modelling errors
floating objects
incorrect reflections
duplicated vegetation
scale problems
visible rendering artefacts
architectural inconsistencies
The image should also be checked against the approved project information.
This stage is especially important when imagery is intended for property marketing.
A beautiful render that inaccurately represents the development can create problems later.
Stage 20: Final Delivery
Once approved and checked, the finished imagery can be supplied in the required formats and resolutions.
Different applications may require different outputs.
High-resolution imagery may be required for:
brochures
exhibitions
hoardings
large-format printing
Optimised versions may be produced for:
websites
social media
digital advertising
presentations
The same core CGI can therefore support multiple parts of a project's communication and marketing strategy.
What Happens If the Client Already Has a 3D Model?
An existing 3D model can potentially reduce part of the modelling workload, but it does not eliminate the visualisation process.
The model first needs to be assessed.
It may require:
geometry cleanup
optimisation
missing details
corrected materials
restructuring
landscaping
furniture
lighting
camera setup
Models created for architectural design or BIM coordination are not necessarily built for photorealistic rendering.
The existing geometry can still provide a valuable starting point, but it may need significant preparation before production begins.
What Happens If There Are Only 2D Drawings?
Professional architectural CGI can be created from 2D information.
Plans, elevations and sections provide the dimensional information required to reconstruct a building in three dimensions.
This simply means the modelling stage becomes a larger part of the project.
The more complete the drawings, the easier it is to accurately interpret the design.
Photographs, material references and sketches can provide additional information where drawings do not communicate every detail.
How Does the Workflow Change During Different RIBA Stages?
The required level of visualisation can change as the architectural project develops.
Early-stage CGI may be relatively conceptual.
Later-stage imagery can incorporate increasingly detailed architectural information.
Our guide to visualisation across RIBA Stages 2–7 explains how CGI can support different stages of a project.
At RIBA Stage 3, visualisation can help communicate developed design decisions.
As the project progresses, increasingly detailed information can allow the CGI to become more precise.
The workflow therefore does not exist separately from architectural design. It can develop alongside it.
From Still CGI to Architectural Animation
The same 3D environment used for still images can also become the foundation for animation.
However, animation introduces additional requirements.
A camera path must be designed.
Areas that were previously outside the frame may need further modelling.
Movement needs to feel smooth.
Lighting and objects need to remain consistent across every frame.
A 3D walkthrough animation can then take viewers through a development rather than presenting it through isolated viewpoints.
Rendering time also increases dramatically because an animation consists of hundreds or thousands of individual frames.
From CGI to 360-Degree Rendering
A conventional render shows only what the camera sees in one direction.
A 360-degree render captures the complete environment around a viewpoint.
This changes the production requirements because almost everything surrounding the camera may become visible.
The result allows viewers to explore the environment interactively.
360-degree architectural rendering can be particularly useful for interiors, property marketing and immersive presentations.
From CGI to Virtual Reality
A developed 3D environment can also form the basis of an immersive architectural experience.
Virtual reality allows users to experience the scale and spatial relationships of a proposed environment rather than simply looking at it on a screen.
This requires additional optimisation and preparation, particularly when real-time performance is required.
Our guide to virtual reality in architectural visualisation explores how this can extend conventional CGI into a more immersive form of project communication.
How Long Does the Architectural Rendering Workflow Take?
Production time depends on the project.
A relatively simple interior based on a supplied 3D model may require considerably less work than a housing development that must be reconstructed from 2D CAD drawings.
Important variables include:
project scale
modelling requirements
quality of supplied information
number of images
architectural complexity
landscaping
furniture
surrounding context
required resolution
revisions
animation requirements
For a more detailed breakdown, see how long 3D architectural renderings take.
How Much Does Architectural Rendering Cost?
The workflow also explains why architectural rendering cannot always be priced purely according to the number of final images.
Two projects requiring four images can involve completely different amounts of work.
One might begin with a clean, detailed 3D model.
The other might require an entire development to be reconstructed from 2D drawings before the first camera is created.
Modelling, context, landscaping, materials, furniture, revisions and final outputs all affect production requirements.
Our guide to architectural rendering costs in the UK explains these factors in greater detail.
You can also view Luxe3D pricing for further information.
Architectural Rendering With Luxe3D
Luxe3D provides architectural visualisation for architects, developers, interior designers and businesses across the UK.
Our 3D design and rendering services can take projects from architectural drawings and design information through modelling, materials, lighting, rendering and final presentation.
Depending on the project, the same visual environment can also support 3D walkthroughs, animation, 360-degree rendering and immersive VR presentations.
You can explore examples of architectural visualisation work in the Luxe3D portfolio.
To discuss a project, available CAD drawings or required CGI outputs, contact Luxe3D.
Final Thoughts
The journey from CAD drawing to finished CGI is not one automated step.
It is a structured process.
Architectural information must first be understood. Geometry must be reconstructed or prepared accurately. Cameras need to be composed. Materials and lighting must behave convincingly. Landscaping, furniture and context need to support the architecture. Preview images need to be reviewed, revisions incorporated and final renders refined through post-production.
Every stage contributes to the final result.
A successful architectural rendering workflow therefore combines technical accuracy with visual judgement.
CAD provides the information.
3D modelling gives that information physical form.
Rendering introduces light and materials.
Post-production refines the presentation.
The finished CGI brings all of those stages together, transforming technical architectural information into imagery that clients, stakeholders, investors and buyers can understand.